How to Remove Location from Photos on iPhone (3 Ways), in Batches
Published by @SoNiceInfo at 11/13/2026
Photos taken with an iPhone often record where they were taken (the location). Post a photo taken at home on social media, a marketplace, or a blog as it is, and people may learn where you live. This article covers three ways: an app that removes the location from many photos at once, the built-in tools in the Photos app, and a setting that stops the camera recording the location.
The three methods compared
| Method | Works on | Batches | Your originals | Setup |
|---|---|---|---|---|
| Photo Batch (recommended) | Photos you have | Yes | Stay as they are | Get it on the App Store |
| Built-in tools in Photos | Photos you have | Yes | Sharing keeps them; adjusting changes them | None |
| Setting that stops recording | New photos | — | Don't change | Change one setting |
RecommendedMethod 1: Remove the location in batches with an app (Photo Batch)
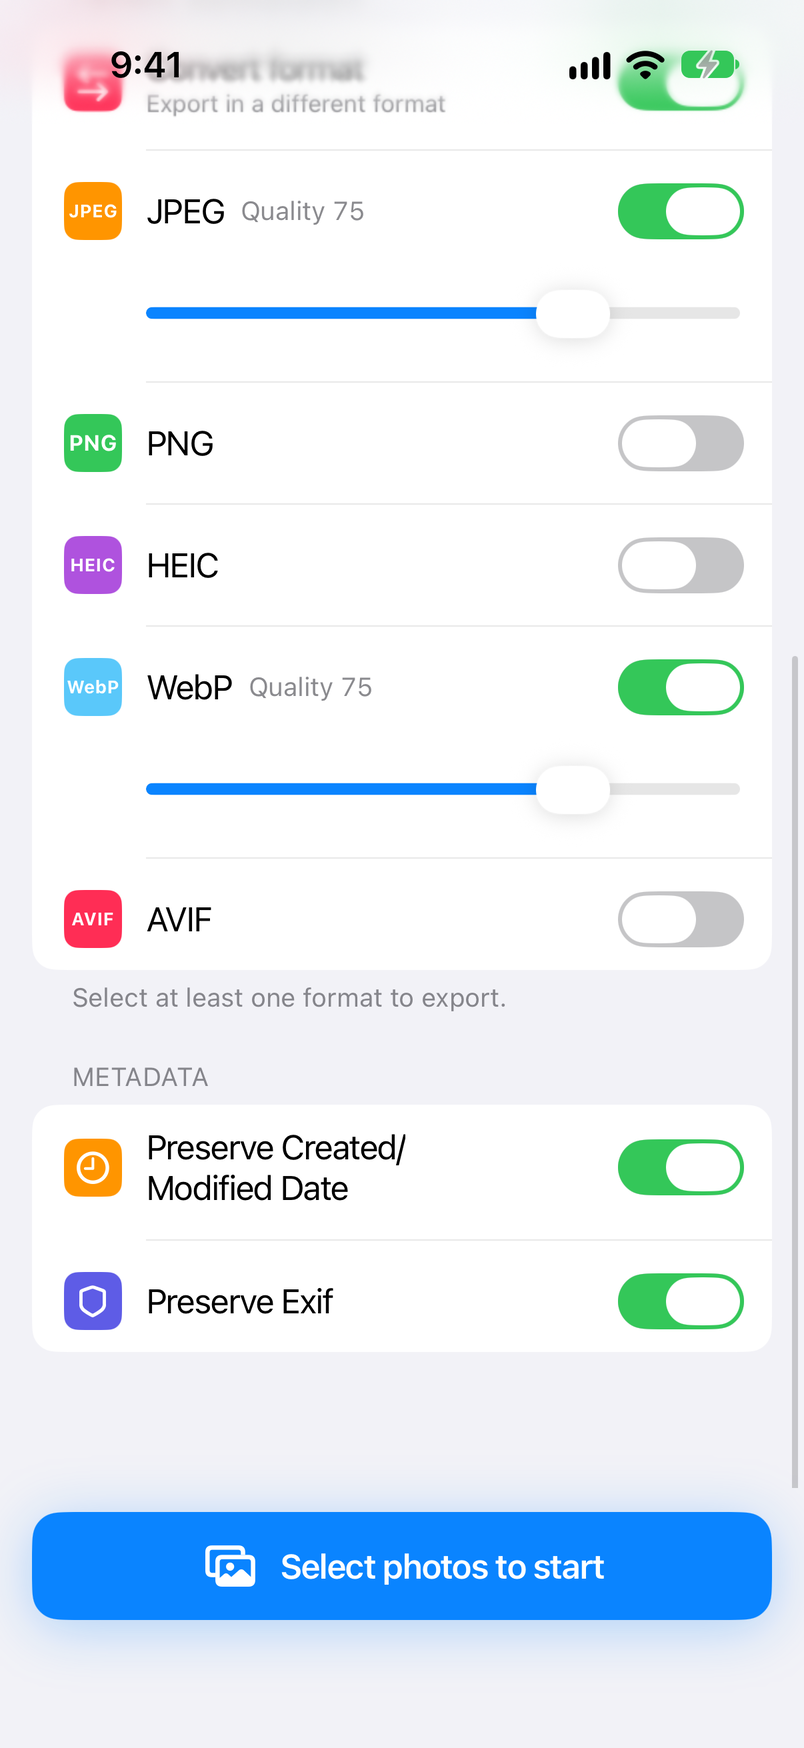
Photo Batch shrinks and converts iPhone and iPad photos in batches, and can remove EXIF (shooting data and location) from what it exports. With the settings as they are on first launch, it removes all EXIF, including the location.
Check the settings
Under “Metadata” on the Home screen, check that “Preserve Exif” is off. If you don't want to change the size or the format, turn off “Resize” and “Convert format”.
Pick the photos
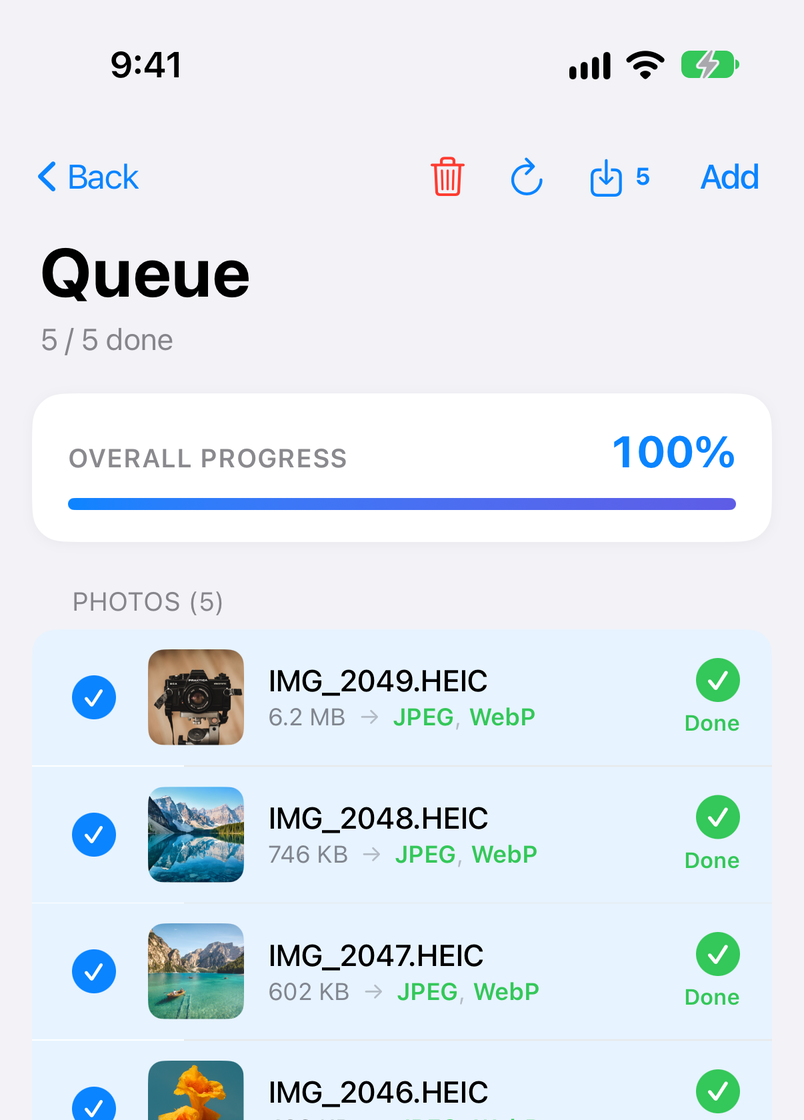
Tap “Select photos to start”, choose “From Photos”, tap the photos you want, then tap Done. Processing starts by itself.
Tap “Save to Photos”
Tap the save button at the top right of the Queue, then “Save to Photos” in the share sheet. The images are saved to Photos with their original file names.
Here is what it does that the built-in tools don't.
- Your originals are left alone — it makes separate images without a location, so the photos in your library keep the place they were taken, and the map and search work as before.
- Only the location, if you prefer — turn on “Preserve Exif” and then “Remove location” below it to keep the camera model, shooting settings, and capture date and remove only where the photo was taken.
- Everything a post needs in one pass — it shrinks photos and converts them to JPEG, PNG, WebP, or AVIF at the same time, so photos for a blog or a marketplace are ready in one go.
- Back under the same name — an image made from IMG_1234.HEIC is saved to Photos with the original file name.
Removing EXIF, resizing, converting, and saving are free. The free version shows ads and takes up to 10 photos at a time from Photos (no limit when you pick from Files). Pro, a one-time in-app purchase, removes the ads, raises the limit to 100 photos, and adds presets for saved settings, among other things. The Photo Batch user manual explains every screen.
iPhone and iPad · Free (with ads) · Processing stays on the device
No extra appMethod 2: Use the built-in tools in the Photos app
The Photos app has two ways to drop the location: leave it out only when you send, or remove it from the photos in your library.
Leave the location out only when you share
- In Photos, select the photos you want to send (one or several).
- Tap the Share button, then tap Options at the top of the share sheet.
- Under Include, turn off Location, then tap Done.
- Go on to choose where to send them, such as Mail or AirDrop.
The Location switch appears only when a selected photo has a location, and it is on at first. It applies to that share only. The photos in your library don't change, so turn it off again the next time you share.
Remove the location from photos in your library
- In Photos, tap Select and select the photos whose location you want to remove.
- Tap the menu button (…) and choose Adjust Location. On iOS 27 it is one level down, inside the Adjust Info submenu.
- Tap No Location.
For a single photo, select just that one and follow the same steps. Revert on the same screen brings a removed location back. Note that a photo without a location no longer shows up on the map or in searches by place in Photos.
New photosMethod 3: Stop recording the location in new photos
This setting keeps the location from being recorded in the first place. Photos you've already taken stay as they are; photos you take after changing the setting have no location.
- Open Privacy & Security in the Settings app.
- Tap Location Services, then Camera.
- Choose Never.
With this setting no photo keeps its place, so the map in Photos, searches by place, and memories organized by place stop working for new photos. If you'd like to keep the place for travel photos and the like, leave the setting as it is and process only the photos you hand to others with method 1 or method 2.
Which method fits you
- Many photos for a blog, an online shop, or a marketplace — Photo Batch. It removes the location and can shrink and convert in the same pass.
- One or two photos, only when you send them — turn off Location under Options when sharing.
- Removing it from the photos in your library — Adjust Location > No Location.
- No location recorded from now on — set the camera's location access to Never.
- Smaller photos before you post — see how to resize photos on iPhone.
FAQ
Q. What is the location in a photo?
It is the latitude and longitude of the place where the photo was taken, recorded in the photo file. When the iPhone camera is allowed to use your location, it records the place every time you take a photo. It is stored inside the photo as part of the shooting data called EXIF, along with the capture date and the camera model.
Q. How can I tell whether a photo has a location?
Open the photo in the Photos app and tap the Info button (the i), or swipe up on the photo. A photo with a location shows a map of where it was taken.
Q. Does the location reach the other person when I post or email a photo?
It depends on how you send it. Sharing from the Photos app includes the location at first, so a photo sent by email or AirDrop still has it. Social networks and marketplaces handle it differently from one service to the next. The sure way is to remove it yourself before you send.
Q. Can I remove the location from many photos at once?
Yes. Photo Batch takes up to 10 photos at a time from Photos (100 with Pro), and has no limit when you pick them from Files. The built-in tools in Photos also work on several selected photos: turn Location off under Options when you share, or remove it in one go with Adjust Location.
Q. Can I remove only the location and keep the capture date and camera data?
Yes. In Photo Batch, turn on “Preserve Exif” and then “Remove location” below it: only the information about where the photo was taken is removed, and the camera model, shooting settings, and capture date are kept. Adjust Location in Photos and the Location switch under Options when sharing also act on the location alone.
Q. Can I get a removed location back?
It depends on the method. Photo Batch keeps the original photo and saves the image without a location separately, so the original still has its location. If you removed it with Adjust Location in Photos, Revert on the same screen brings it back. Turning it off under Options only leaves it out of what you send; the photo in your library does not change.
Summary
To remove the location from many photos at once before handing them to others, Photo Batch is the quickest way, and your originals stay as they are. For one or two photos, turn off Location under Options when you share from Photos. To remove it from the photos in your library, use Adjust Location. To keep it from being recorded in new photos, set the camera's location access to Never in Settings.