How to Convert HEIC to JPG on iPhone (3 Ways), Including in Batches
Published by @SoNiceInfo at 11/13/2026
You sent a photo from your iPhone and were told it won't open, or an upload form rejected it. The cause may be that the photo is saved in a format called HEIC. This article covers three ways, with the real output of each: an app that converts many photos to JPEG at once, the built-in Convert Image action in the Files app, and a Camera setting that saves new photos as JPEG from the start.
The three methods compared
| Method | Works on | Batches | Saved to | Setup |
|---|---|---|---|---|
| Photo Batch (recommended) | Photos you have | Yes | Photos | Get it on the App Store |
| Convert Image in Files | Photos you have | Yes | Files | Save the photos to Files |
| Camera setting | New photos | — | Photos | Change one setting |
RecommendedMethod 1: Convert to JPEG in batches with an app (Photo Batch)
Photo Batch converts iPhone and iPad photos to JPEG, PNG, HEIC, WebP, or AVIF in batches and, if you want, shrinks them in the same pass. You set the format first, then pick the photos, and it processes all of them.
Turn on JPEG
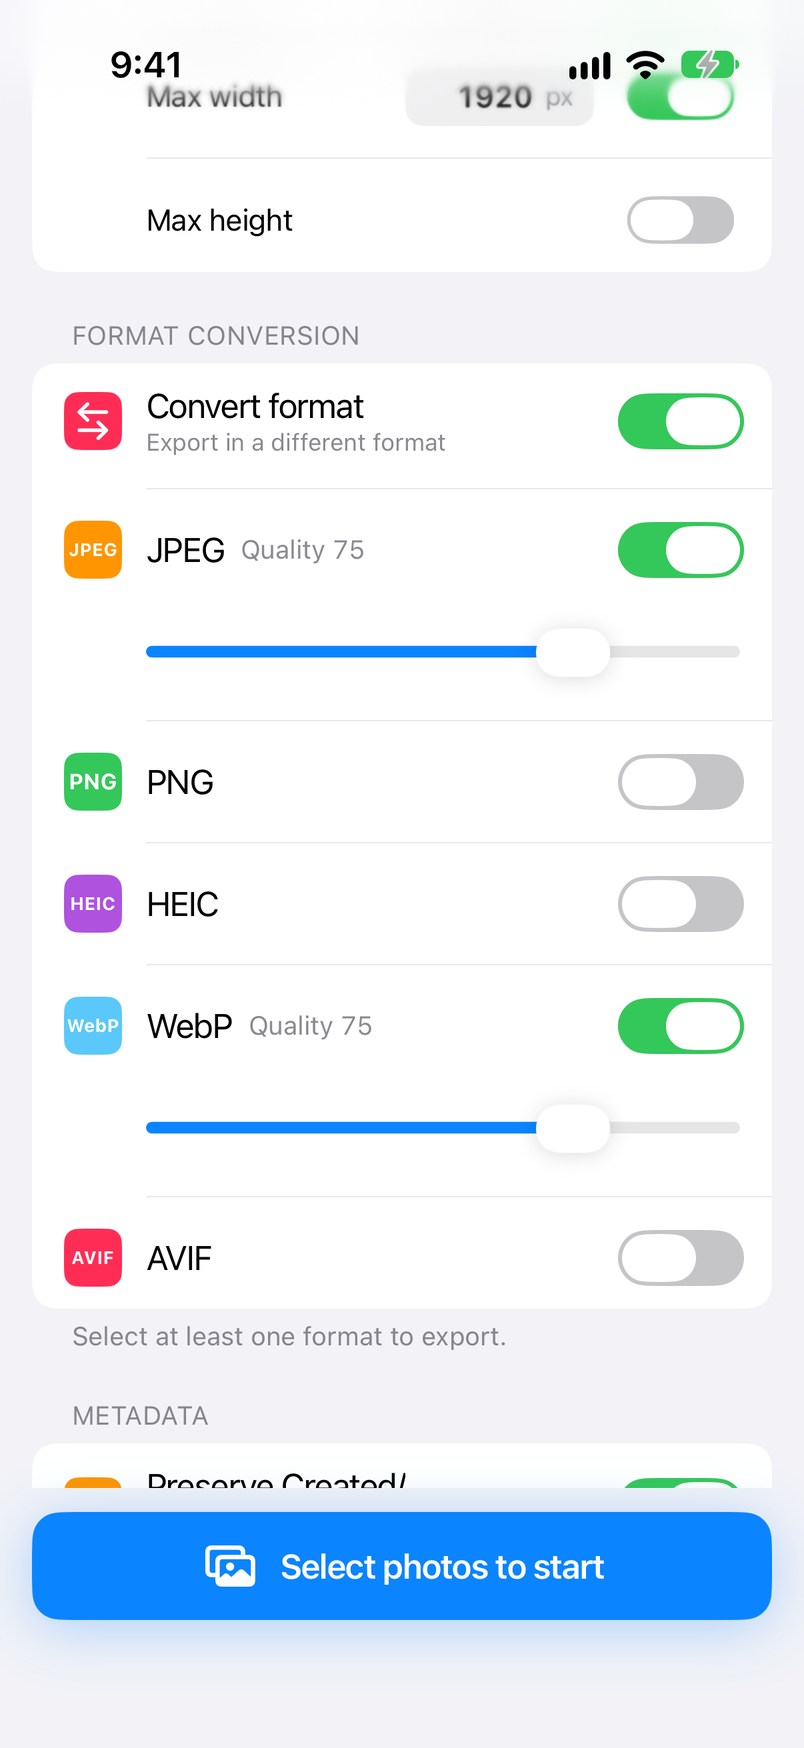
Under “Format conversion” on the Home screen, turn on “JPEG”. If you don't want to change the size, turn off “Resize” under “Image processing”.
Pick the photos
Tap “Select photos to start”, choose “From Photos”, tap the photos you want, then tap Done. Processing starts by itself.
Tap “Save to Photos”
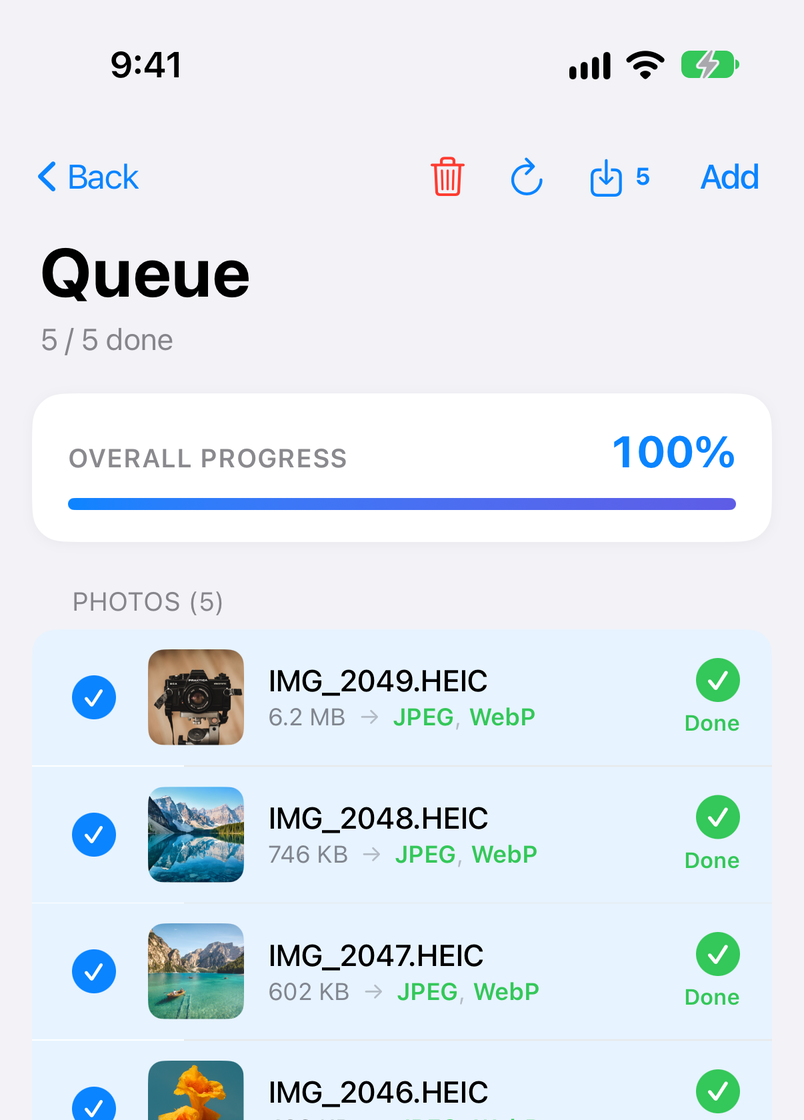
Tap the save button at the top right of the Queue, then “Save to Photos” in the share sheet. The images are saved to Photos with their original file names.
Here is what it does that the built-in tools don't.
- Straight from Photos, and back under the same name — there is no need to move photos to Files first, and an image made from IMG_1234.HEIC is saved to Photos as IMG_1234.jpg.
- A JPEG quality you choose — set the quality from 0 to 100 (75 at first). Lower it to save space, raise it when quality matters more.
- Shrinking in the same pass — set a maximum width or height in pixels and the photos are shrunk while they are converted, which helps with upload size limits.
- Location removed — with the settings as they are on first launch, EXIF including the location is removed from what it exports.
- Other formats too — it also converts to PNG, WebP, and AVIF, and if you turn on several formats, each photo is exported in each of them.
Converting, resizing, removing EXIF, and saving are free. The free version shows ads and takes up to 10 photos at a time from Photos (no limit when you pick from Files). Pro, a one-time in-app purchase, removes the ads, raises the limit to 100 photos, and adds presets for saved settings, among other things. The Photo Batch user manual explains every screen.
iPhone and iPad · Free (with ads) · Processing stays on the device
No extra appMethod 2: Use Convert Image in the Files app
The Files app that comes with the iPhone has a Convert Image action that changes the format and the size of an image. It doesn't work directly on photos in the Photos app, so save the photos to Files first.
- In Photos, select the photos to convert, tap the Share button, choose “Save to Files”, and pick a folder.
- Open that folder in Files and touch and hold an image.
- Choose Quick Actions > Convert Image from the menu.
- Pick JPEG as the format.
- Pick Original as the size. The conversion starts right away and a JPEG file appears in the same folder as the original.
To convert several images at once, tap the button at the top right of the folder and choose Select, select the images, then choose Convert Image from the menu of the button at the bottom right.
What happens to the file size
Converting three HEIC photos to JPEG at the Original size gave these results (checked on iOS 18.0). The dimensions in pixels stayed the same, and the files came out at about 1.5 to 1.7 times the original size.
| Dimensions | Original HEIC | Converted JPEG |
|---|---|---|
| 4032 × 2887 px | about 1.8 MB | about 2.9 MB |
| 4032 × 3024 px | about 2.8 MB | about 4.1 MB |
| 4032 × 2688 px | about 1.4 MB | about 2.4 MB |
One of the three was shot on an iPhone; the other two are JPEG photos that were converted to HEIC on a Mac. The ratio varies with the content of the photo and the camera that took it. The new file sits in the same folder under the same name with a new extension: IMG_0001.HEIC becomes IMG_0001.jpeg. You can't choose the JPEG quality. The new images are also in Files, so to get them back into Photos you have to save them again from the Share button.
New photosMethod 3: Save new photos as JPEG (Camera setting)
If you'd rather not convert at all, change the format the camera saves in. Photos you've already taken stay as they are; photos you take after changing the setting are JPEG.
- Open Camera in the Settings app.
- Tap Formats.
- Under Camera Capture, choose Most Compatible.
High Efficiency saves in HEIF/HEVC and Most Compatible saves in JPEG/H.264. With Most Compatible each photo takes more space, so your iPhone's storage fills up sooner. Some capture modes, such as 4K video at 60 fps, are available only with High Efficiency (this varies by model). For storage, it works out better to leave the camera on High Efficiency and convert only the photos that need it with method 1 or method 2.
Settings that convert only when you send
You can also keep your photos as HEIC and let the iPhone convert them when they leave the phone.
- When you share — in Photos, select a photo, tap the Share button, and open Options at the top. Under Format you'll find Automatic, Current, and Most Compatible. With Most Compatible, photos may be converted to JPEG before they are sent (according to the note on that screen). Current sends them without converting.
- When you import to a Mac or a Windows PC over a cable — in Settings > Apps > Photos, set Transfer to Mac or PC to Automatic and photos are transferred in a compatible format. Keep Originals transfers them as HEIC.
In both cases the iPhone decides whether to convert. When a photo has to be JPEG, or you want to keep the converted image, convert it yourself with method 1 or method 2.
Which method fits you
- Many photos you've already taken, converted to JPEG at once — Photo Batch. Pick them in Photos and get them back under the same file names.
- One or two photos, with no app to install — Convert Image in Files.
- JPEG for every photo from now on — set the Camera setting to Most Compatible.
- An upload size limit to stay under — JPEG files are larger, so lower the quality in Photo Batch or shrink the photo in the same pass. How to resize photos on iPhone covers shrinking.
- Batch conversion on a Mac — see how to batch convert HEIC to JPG, PNG, or WebP on a Mac.
FAQ
Q. Why are my iPhone photos HEIC?
Out of the box, the iPhone camera saves photos in the High Efficiency format (HEIF/HEVC). HEIC keeps about the same quality as JPEG in a smaller file, but older Windows apps, some web services, and some upload forms can't open or accept it. That is when you convert to JPEG.
Q. Does converting to JPEG delete the original HEIC photo?
Not with the methods in this article. Photo Batch keeps the original and saves the JPEG to Photos as a separate image. Convert Image in Files also creates a new JPEG file in the same folder as the original HEIC.
Q. Can I convert many photos at once?
Yes. Photo Batch takes up to 10 photos at a time from Photos (100 with Pro), and has no limit when you pick them from Files. Convert Image in Files also converts several selected files in one go.
Q. What happens to quality and file size when I convert to JPEG?
JPEG compresses less efficiently than HEIC, so a file of about the same quality gets larger. In three photos converted with Convert Image in Files, the JPEGs were about 1.5 to 1.7 times the size of the originals. Photo Batch lets you set the JPEG quality from 0 to 100, so you can lower it, or shrink the photo in the same pass, when size matters.
Q. Are JPG and JPEG different formats?
No, they are the same format. Only the file extension differs, “.jpg” or “.jpeg”. Convert Image in Files writes “.jpeg” files and Photo Batch writes “.jpg” files.
Q. Can I remove the location (EXIF) while converting?
With the settings as they are on first launch, Photo Batch removes EXIF (shooting data and location) from what it exports, so photos for social media or a marketplace are safe to post as soon as they are converted. To keep the camera model and the date, turn on “Preserve Exif”; you can then remove only the location.
Summary
To convert many photos to JPEG at once, Photo Batch is the quickest way. For a few photos, Convert Image in the Files app is enough. For photos you take from now on, set the Camera format to Most Compatible and they are saved as JPEG. JPEG files are larger, so it makes sense to keep your photos as HEIC and convert only the ones you need, when you need them.